See the below for some instructions on how to adjust your settings such as business hours, address, cancelation/rescheduling policies, etc.
1. Click on Your Profile

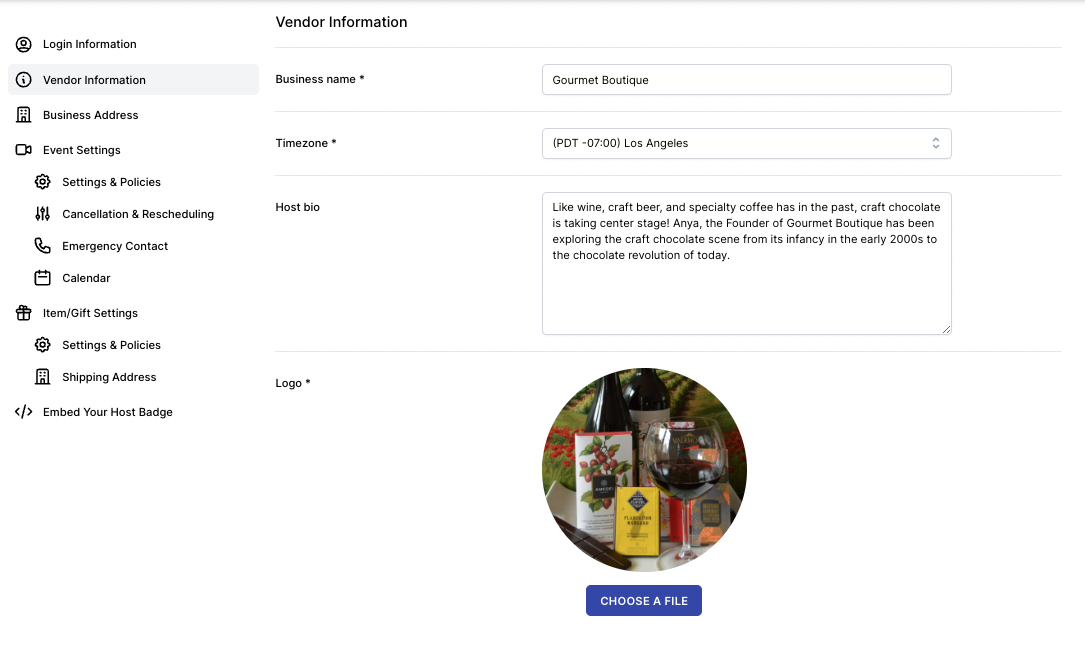
2. Click on Host Information
Select your timezone, add your logo, host/company bio, etc
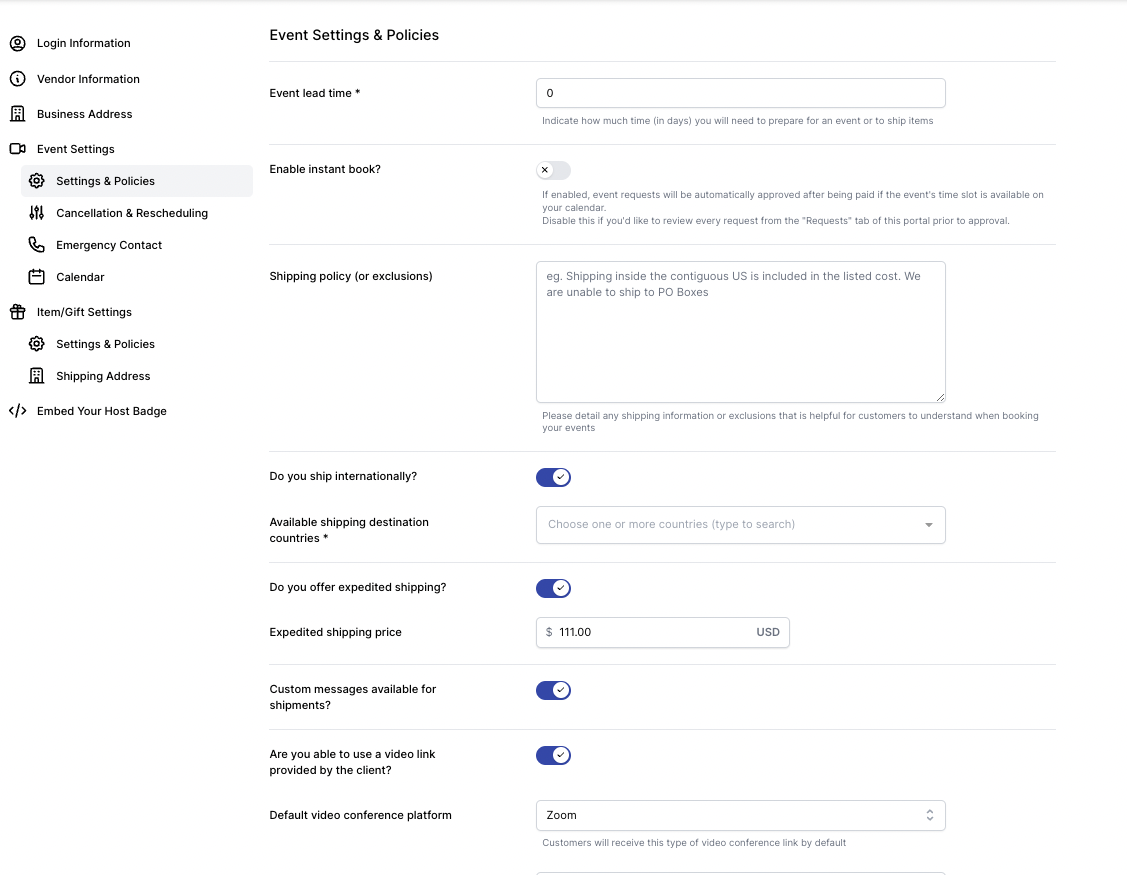
3. Click on Event Settings & Policies
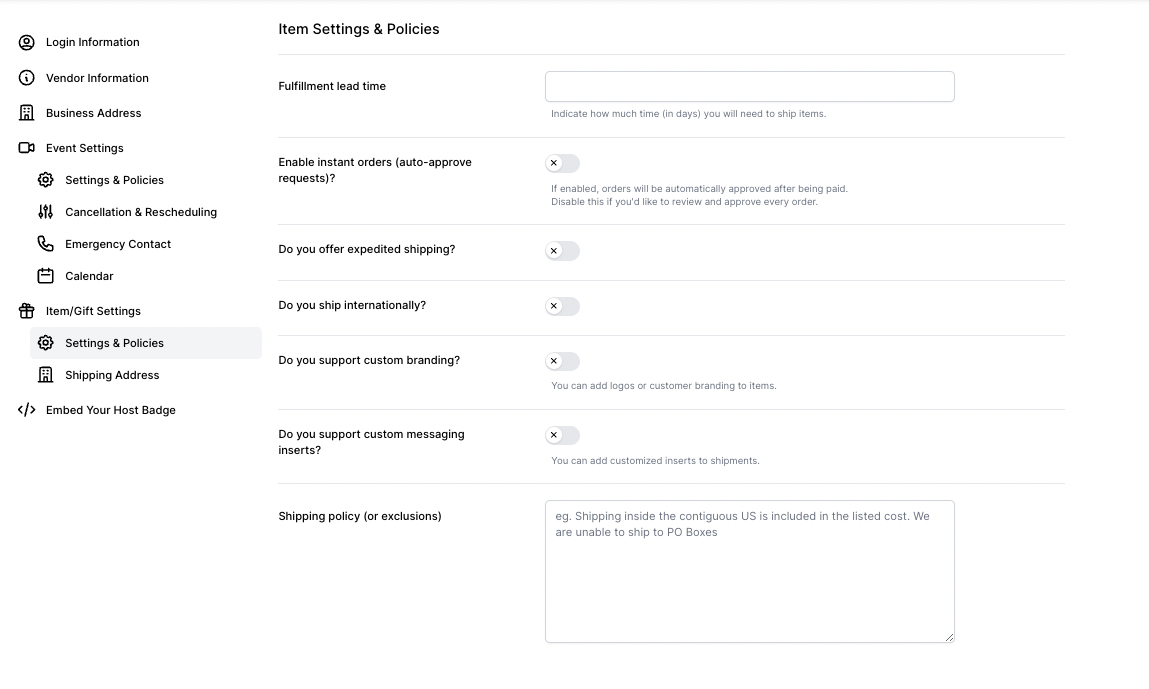
1) Lead time = This should include how many days in advance you need to be booked (if you have a kit, this should include shipping time)
2) If you have shipments, include any policies, exclusions, etc here
4. Select other options
1) International, expedited shipping (we will contact you for pricing of course!)
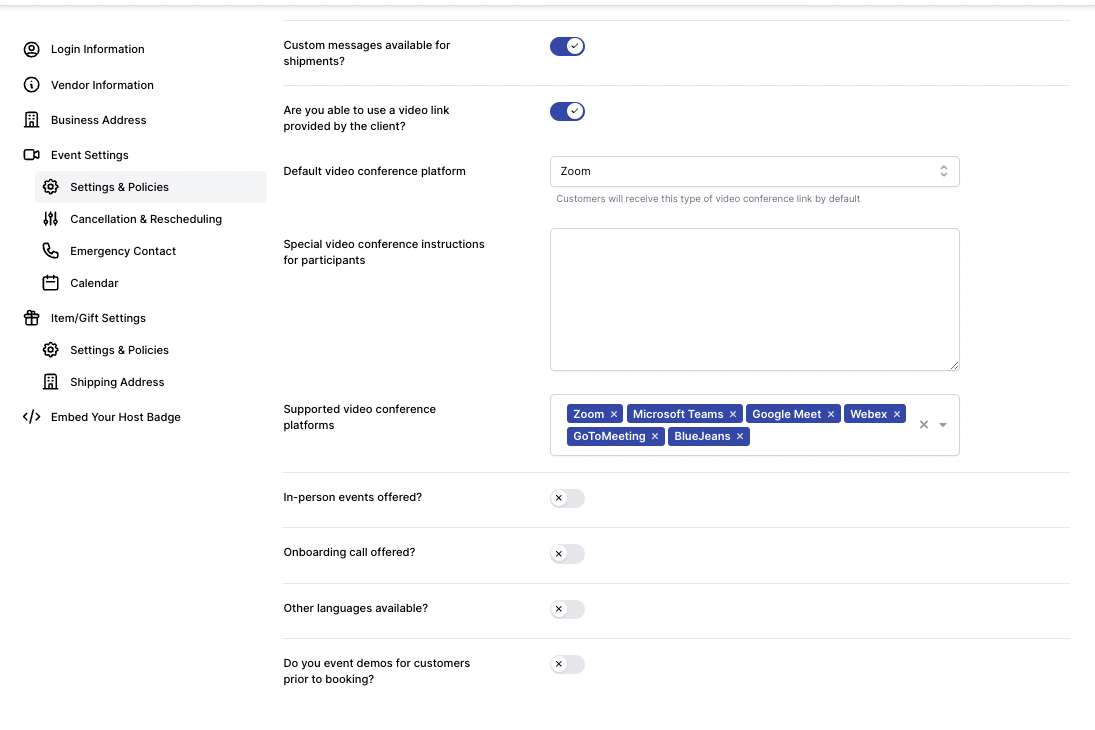
2) Custom messages (Y/N)
3) Video Conference info
4) In-Person Events
5) Languages
5. Select your cancelation, rescheduling and flexible headcount policy
As well as rescheduling and cancelation fees if applied

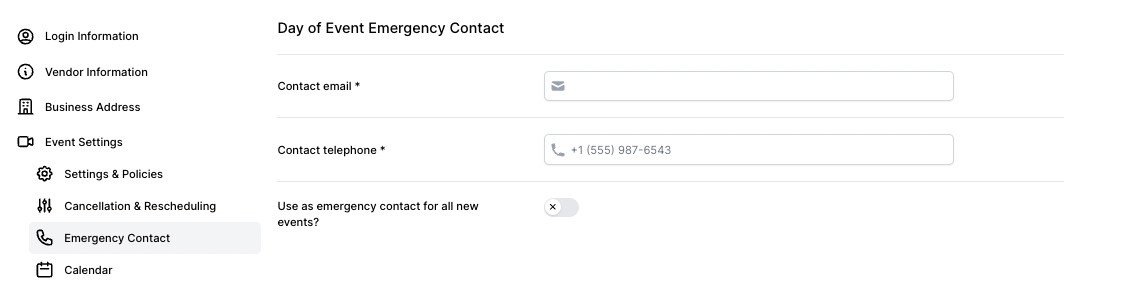
6. Enter your Emergency Contact & Address
You will be asked to enter these for every order. If you want a default, you can select that here.
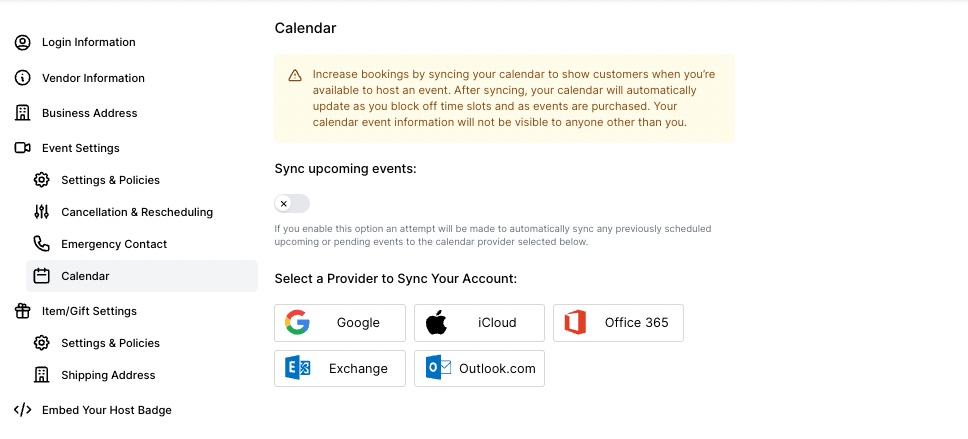
8. Sync your calendar
This will allow clients to see your availability to send in inquiries on the website!
9. Add Gifts or Items to increase orders
Set up you policies for items/gifts.