You've signed the contract and are ready to run events with Elevent - AWESOME! First step is to set up your Host Portal.
Host Portal Link = https://hosts.bookelevent.com/login
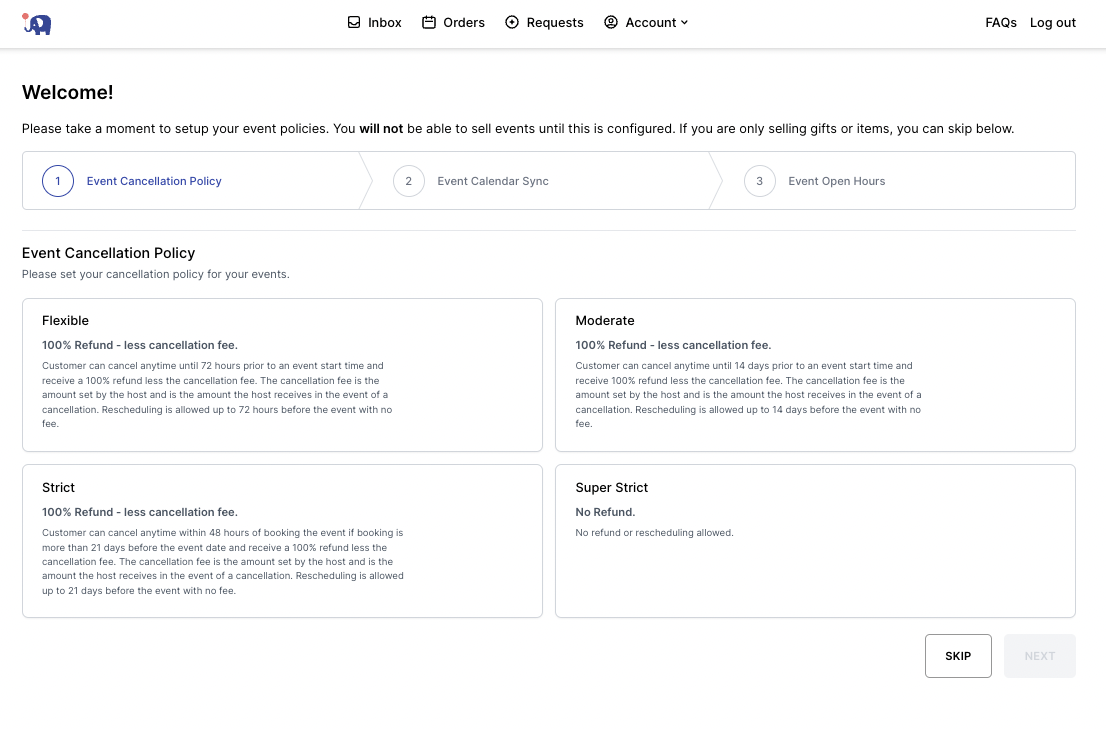
1. Login and select your Event Cancellation Policy
This is integral as it will show on the website and the client's invoice. This protects you and your business, so select the one that works best for you! If you are just selling gifts that you can skip this section.
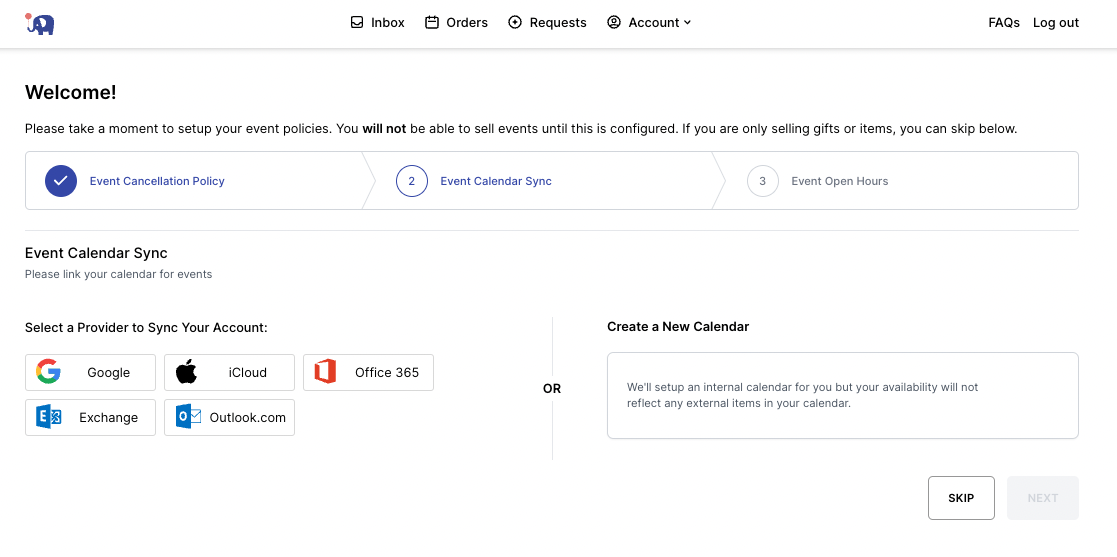
2. Next, set up your availability
You can do this by syncing your calendar or selecting your business hours.
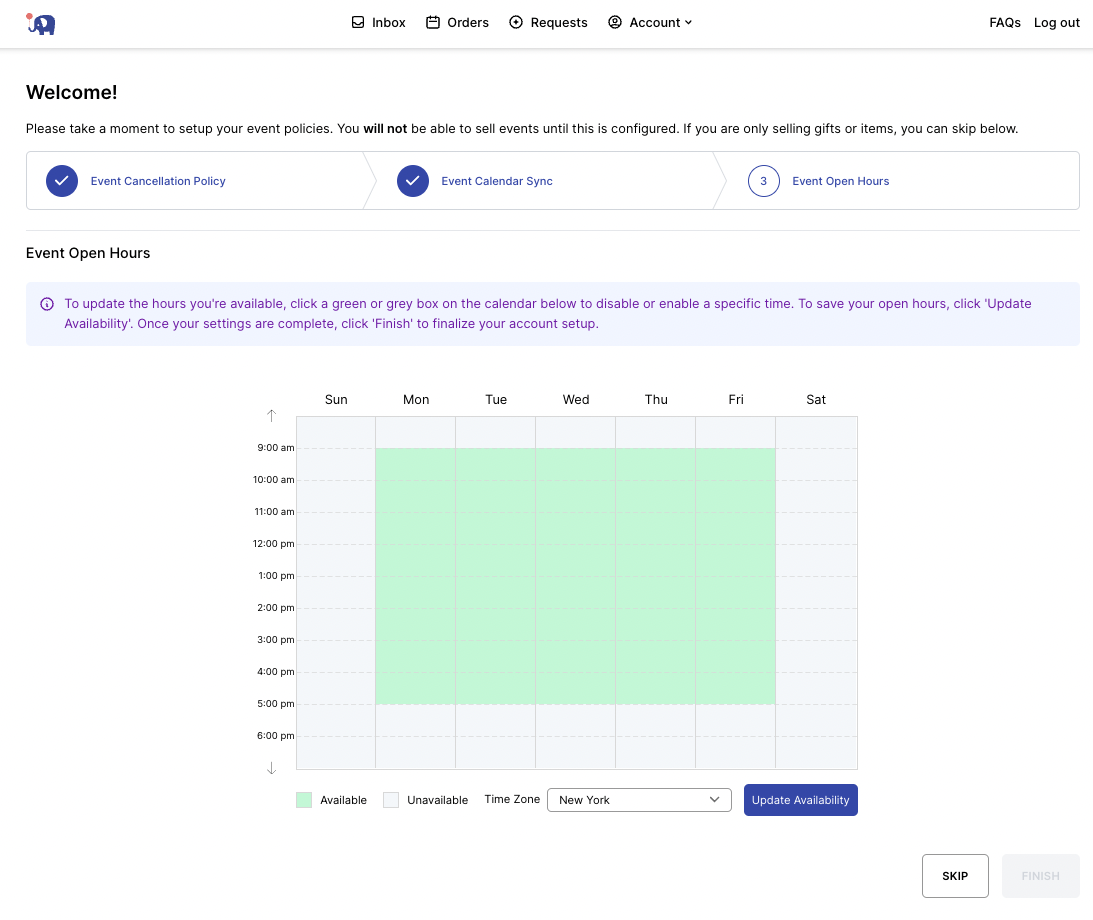
3. Select your Open Hours
These will be the hours available for customers to inquire about event availability.
Anything in green will be your hours of business!
(If the current green section are your hours, be sure to click and unclick to see the "Update Availability" button to activate)
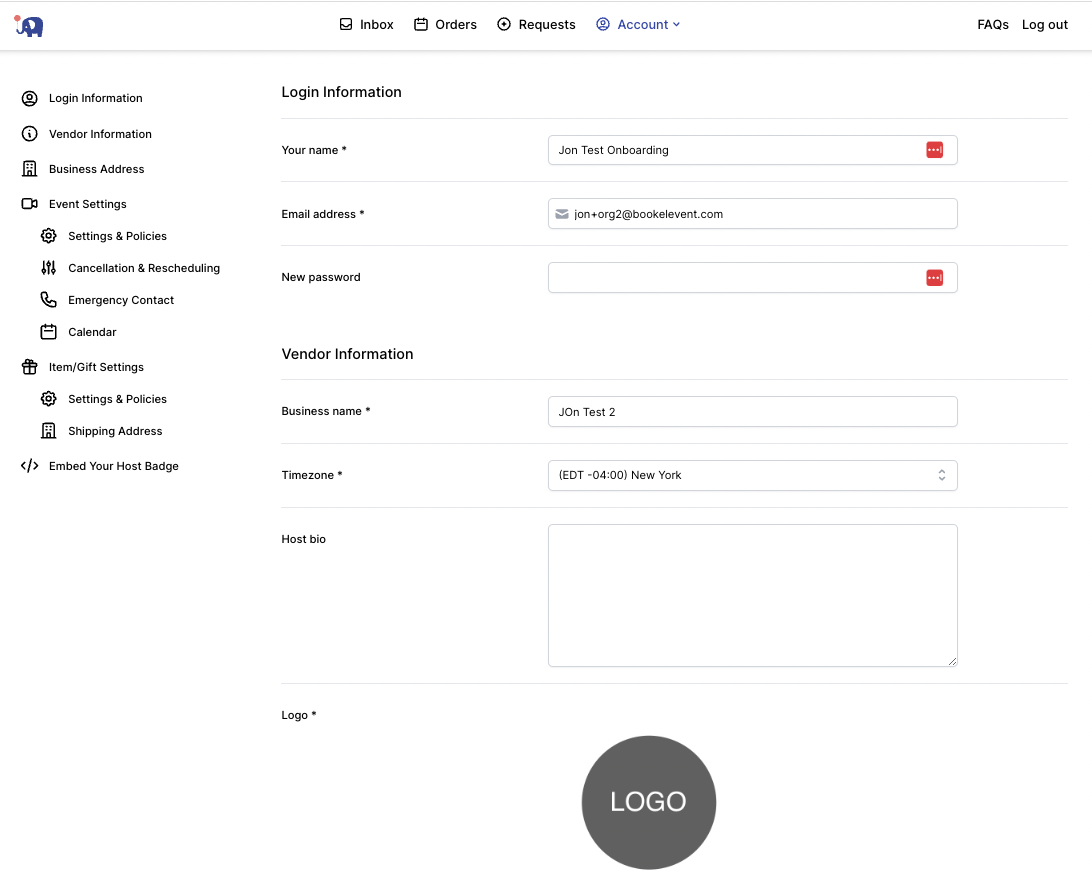
4. Click on Profile & Settings under Account
5. Fill out your Host Information
The Host Bio and Logo will be displayed on your listings and your vendor page.
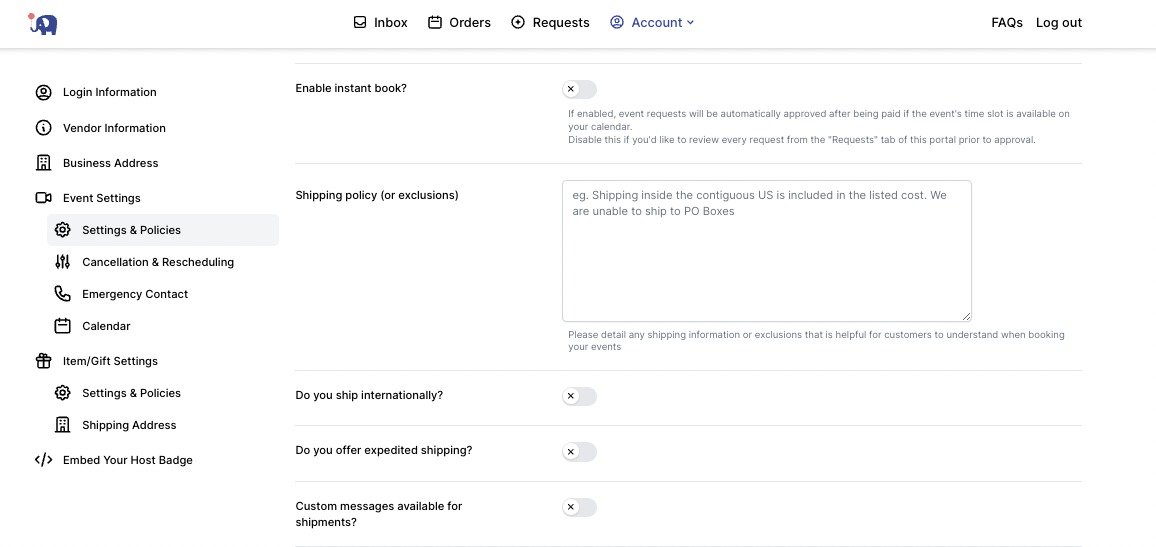
6. Be sure to fill out "Your Settings" and set up all your policies/settings
There are setting for your business, events you are selling (both in-person or virtual) and items/gifts. These are super important as they will now show on the website!
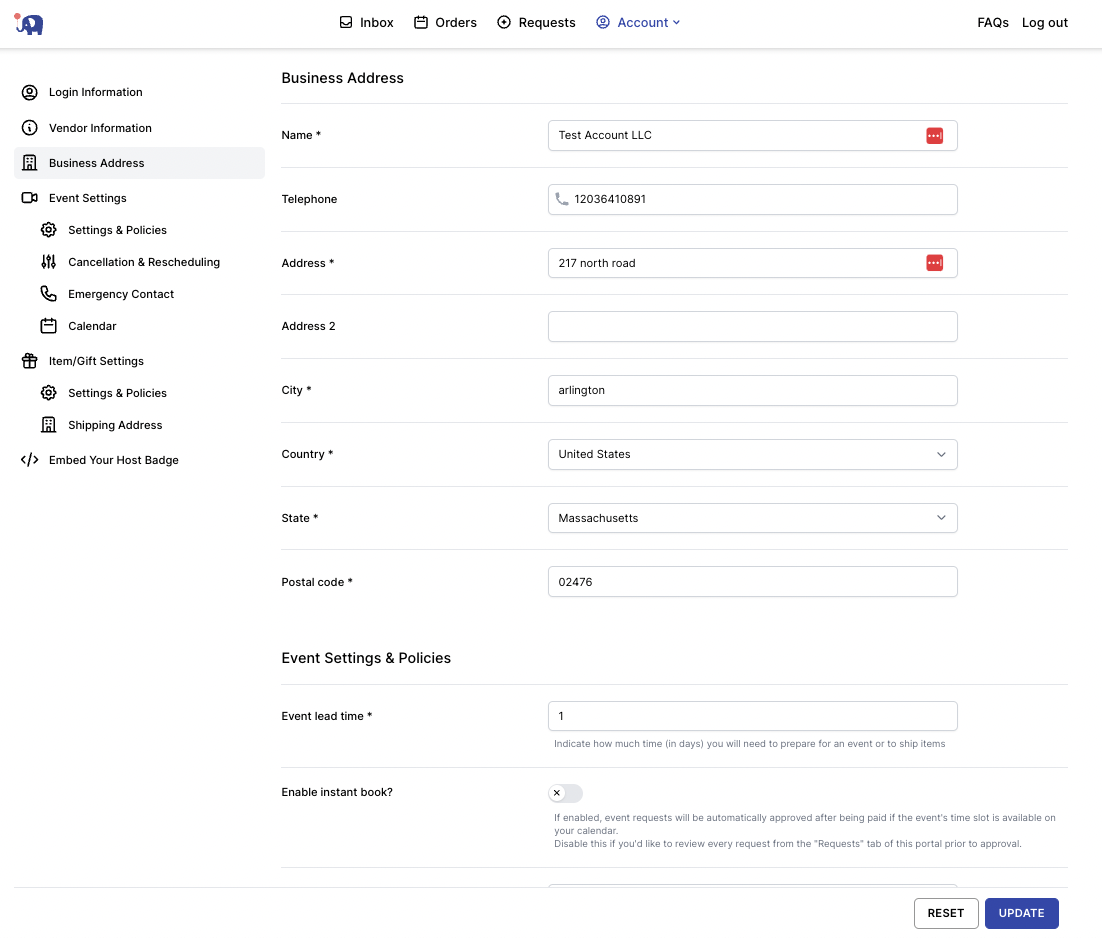
7. Instant Book improves your booking rate.
Here you can select your lead time for instant book options.
For example, say your typical lead time is 14-days, but if someone is looking to book 30-days or more in the future, you're available to accept the booking automatically; you would enter that here.
8. Item Settings
If you are just selling items/gifts, make sure you fill out all of the settings which includes

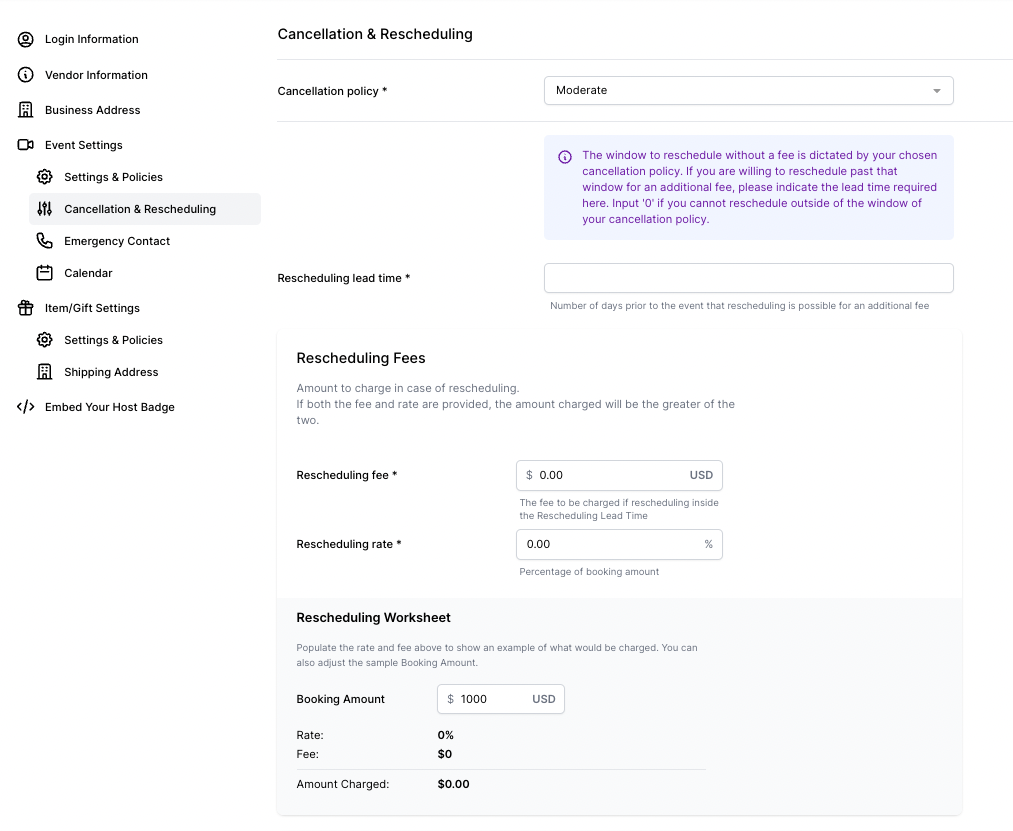
9. Confirm your cancellation, rescheduling and flexible headcount policies and fees are selected
A note:
Cancellations fees will go into account before the cancelation deadline. After the deadline, the host will receive the entirety of the charge (less Elevent commission)
Rescheduling fees will go into account only after the deadline. Before the deadline, the expectation is that a client can reschedule for free.
Flexible headcount will allow purchases to move headcount up and down.
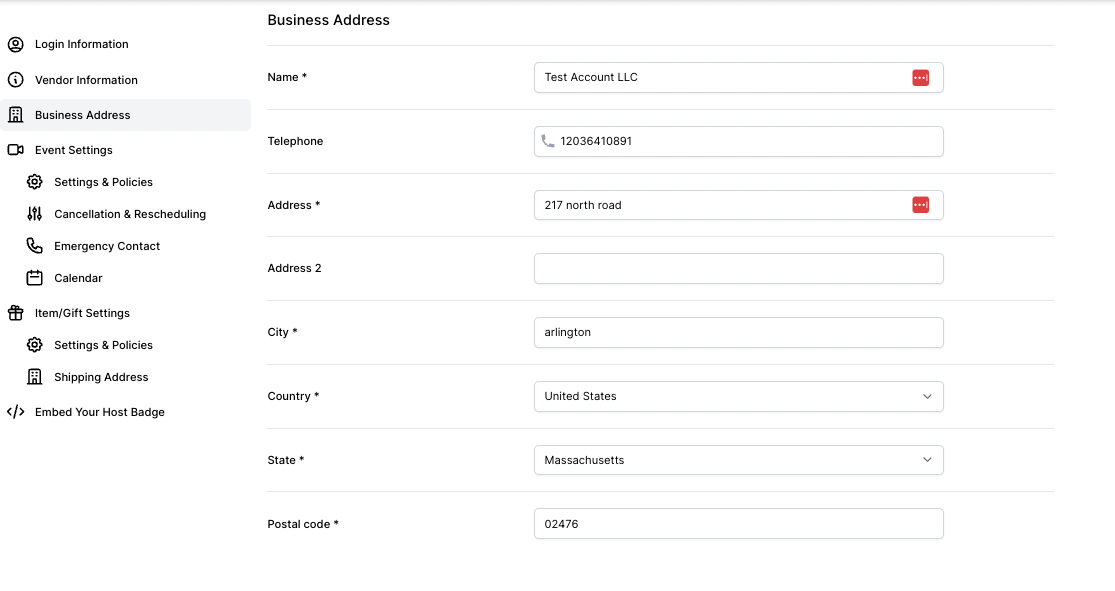
10. Manage Emergency Contact & Business Address
*This is internal for the Elevent team only
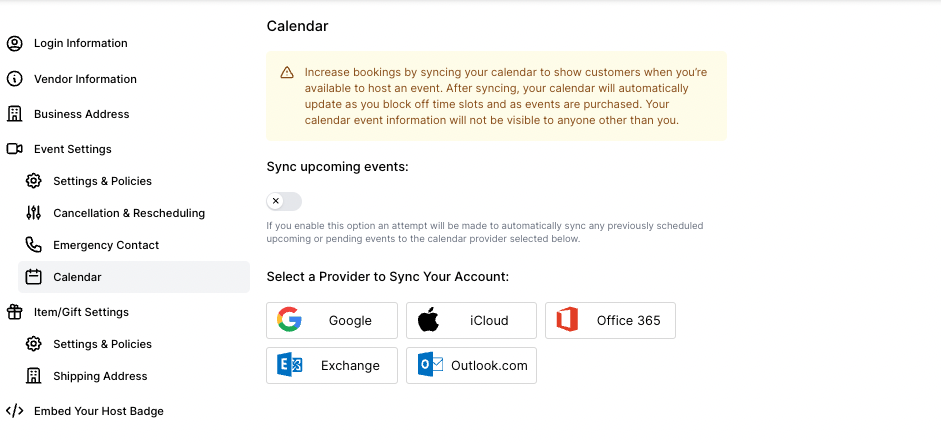
11. You can also sync your calendar here
12. Embed Your Host Badge
This unique HTML embed code will link customers directly to your Vendor page.
Hosts should be sure to embed this on their websites. This will increase your SEO visibility and increase traction for your events onsite.
We recommend it in a webpage footer or page where your events are highlighted!

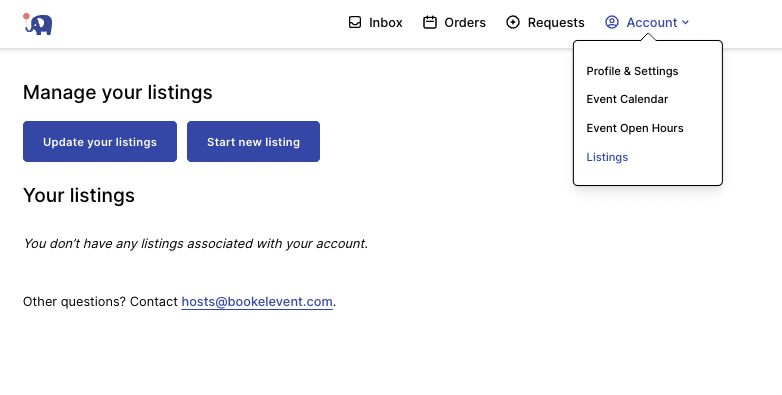
13. Manage your listings here
If you want to make any edits, adjustments, or to add new listings, you can do so via these links!